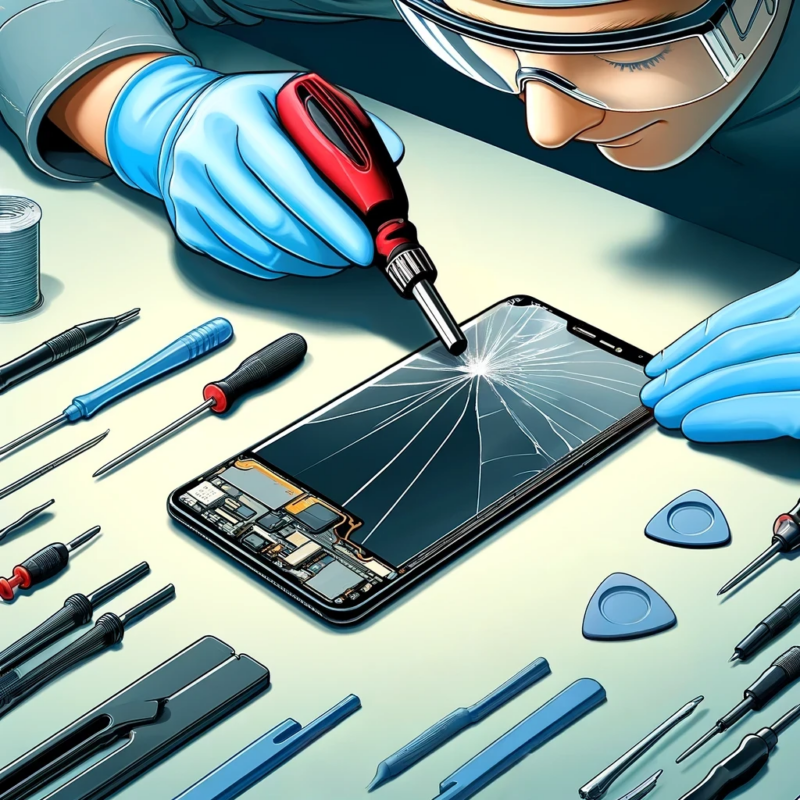
A Comprehensive Guide on How to Replace the Screen on Your Smartphone
In today’s fast-paced digital world, smartphones have become an indispensable part of our daily lives. However, accidents happen, and one of the most common mishaps is a cracked or broken screen. Instead of shelling out a hefty sum for professional repairs, why not take matters into your own hands? In this comprehensive guide, we will provide you with step-by-step instructions on how to replace the screen on your smartphone like a pro.
Replacing the screen on your smartphone may seem like a daunting task, but with the right tools, techniques, and a bit of patience, you can successfully restore your device to its former glory. Follow these instructions carefully to ensure a successful screen replacement.
Step-by-Step Instructions:
1. Gather the Necessary Tools:
Before you begin the screen replacement process, make sure you have the following tools on hand:
– Replacement screen
– Screwdriver set
– Opening tools (such as a plastic spudger or guitar pick)
– Adhesive strips or glue
– Heat gun or hairdryer (for certain models)
2. Power Off Your Smartphone:
Ensure that your smartphone is powered off before you start the replacement process. This will prevent any potential damage to the device and ensure your safety during the repair.
3. Remove the Back Cover and Battery (if applicable):
If your smartphone has a removable back cover and battery, carefully remove them using the appropriate tools. This will give you access to the internal components of the device.
4. Disassemble the Smartphone:
Using the screwdriver set and opening tools, carefully disassemble the smartphone by removing the screws and separating the front panel from the rest of the device. Take note of the placement of each screw and component to facilitate reassembly later.
5. Remove the Broken Screen:
Once the smartphone is disassembled, locate the broken screen and gently detach it from the device. Be cautious not to damage any other components during this process.
6. Install the Replacement Screen:
Carefully place the replacement screen in the designated position, ensuring that it aligns perfectly with the device’s frame. Use adhesive strips or glue to secure the screen in place.
7. Reassemble the Smartphone:
Reverse the disassembly process by reattaching the front panel, screws, back cover, and battery (if applicable). Double-check that all components are properly secured before powering on the device.
8. Test the New Screen:
Power on your smartphone and test the new screen to ensure that it functions correctly. Check for any display abnormalities, touch responsiveness issues, or other potential problems.
Congratulations! You have successfully replaced the screen on your smartphone following our step-by-step instructions. By taking the DIY approach, you not only saved money on professional repairs but also gained valuable knowledge about your device’s internal components. Remember, practice makes perfect, so don’t be discouraged if your first attempt isn’t flawless. With patience and persistence, you can master the art of smartphone screen replacement like a seasoned technician.”


